Related Articles
How to Integrate your Kommunity with Zapier?
Zapier is a popular third-party integration platform. By using Zapier, you can provide custom integrations between Kommunity and various applications on the related platform. You can benefit from significant advantages by doing this.
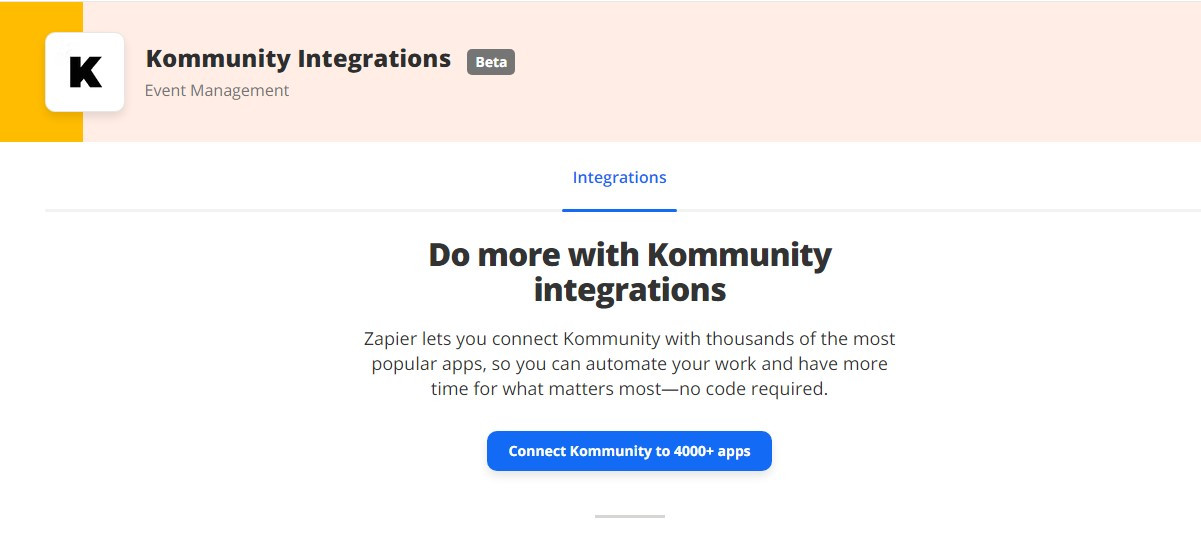
Every integration you make with Zapier is called Zap. Even though the zap creation process is quite easy, you may experience problems unless you have done certain things like this before. For a start, you may want to learn about applications that can be integrated with Zapier. For this, you can visit the Kommunity Integrations page.
How to create a Zap?
If you want to create Zap by integrating between Zapier and Kommunity, you must first decide on the application you want to use. Here we will show you how to integrate Google Calendar application, Zapier and Kommunity. What we're going to do is basically add a new Kommunity event to Google Calendar with Zapier integration.
Step 1: Application Selection in Zapier
After you open a Zapier account, you must go to the Kommunity Integrations page. Since our example will be on Google Calendar, we will choose the Google Calendar application as shown below.
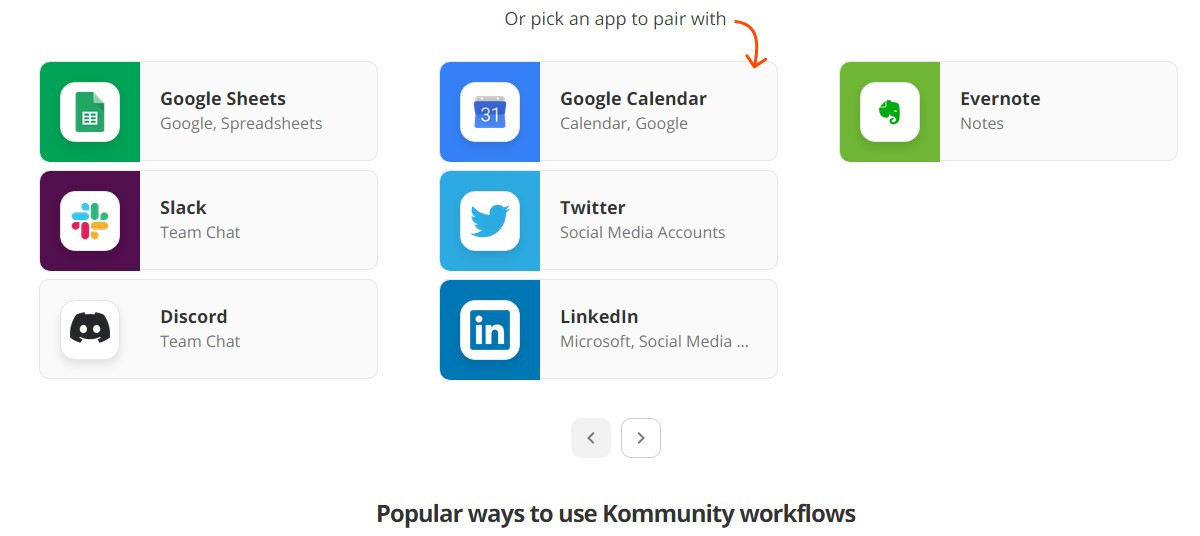
Alternatively, as you can see in the image, you can choose from here by scrolling to the "Popular ways to use Kommunity workflows" section. Kommunity integration with Google Calendar is popular, so you can find it in the first place right away.
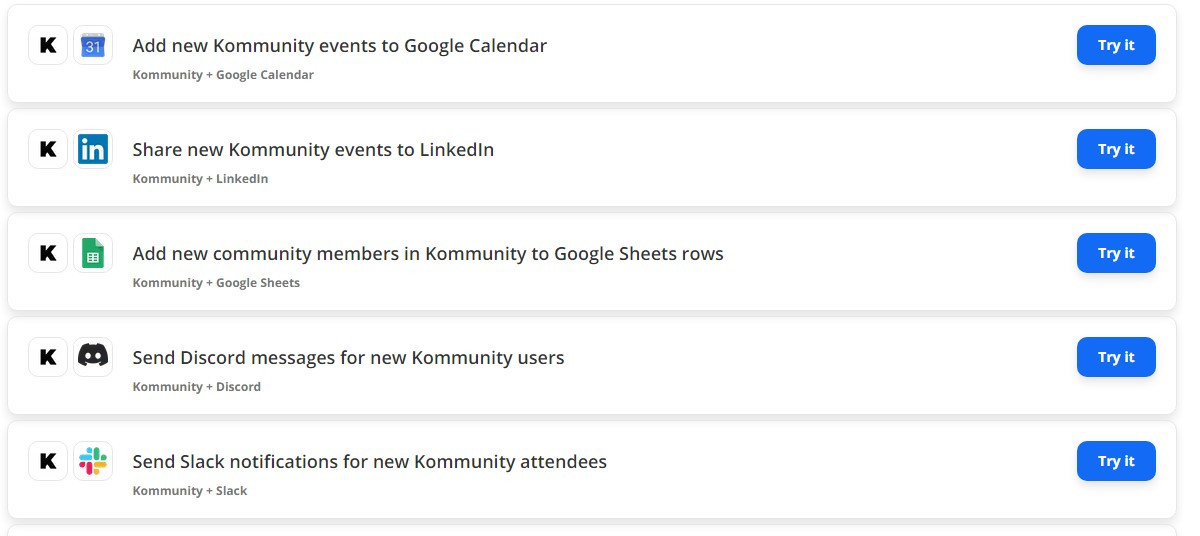
As you can see in the picture, click the blue "Try it" button on the right side of the "Add new Kommunity events to Google Calendar" option. After clicking this part, you will reach the editor part of Zapier. Here you can make the necessary adjustments.
Step 2: Using the Zapier Editor
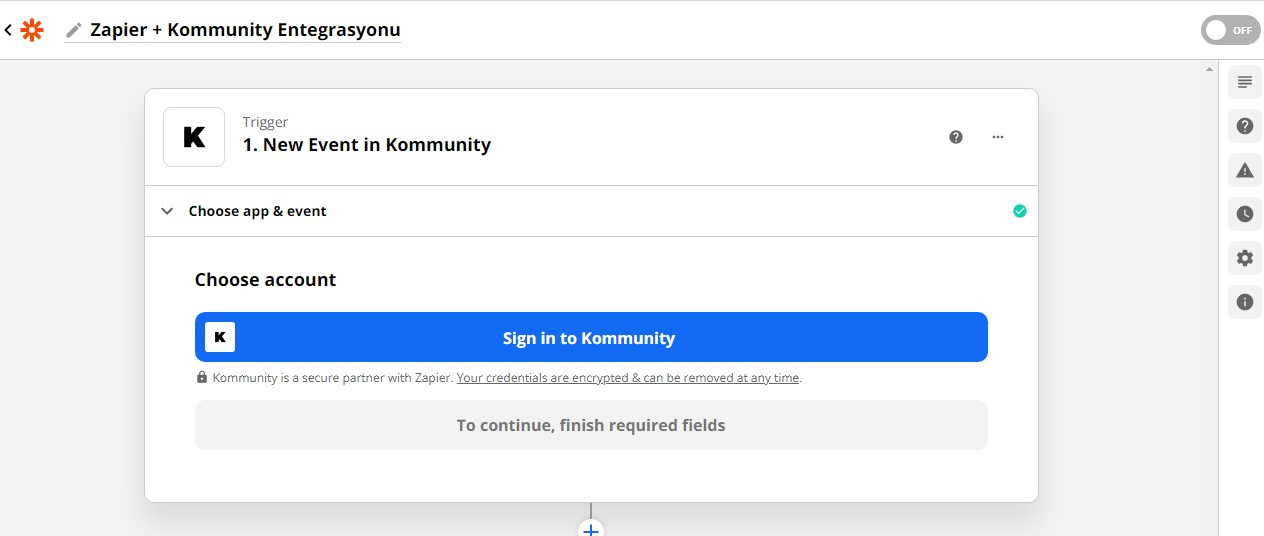
After the Zapier editor is opened, you will see different areas where you can edit. First of all, you must give a name to the integration you will create by clicking on the "Name your zap" section.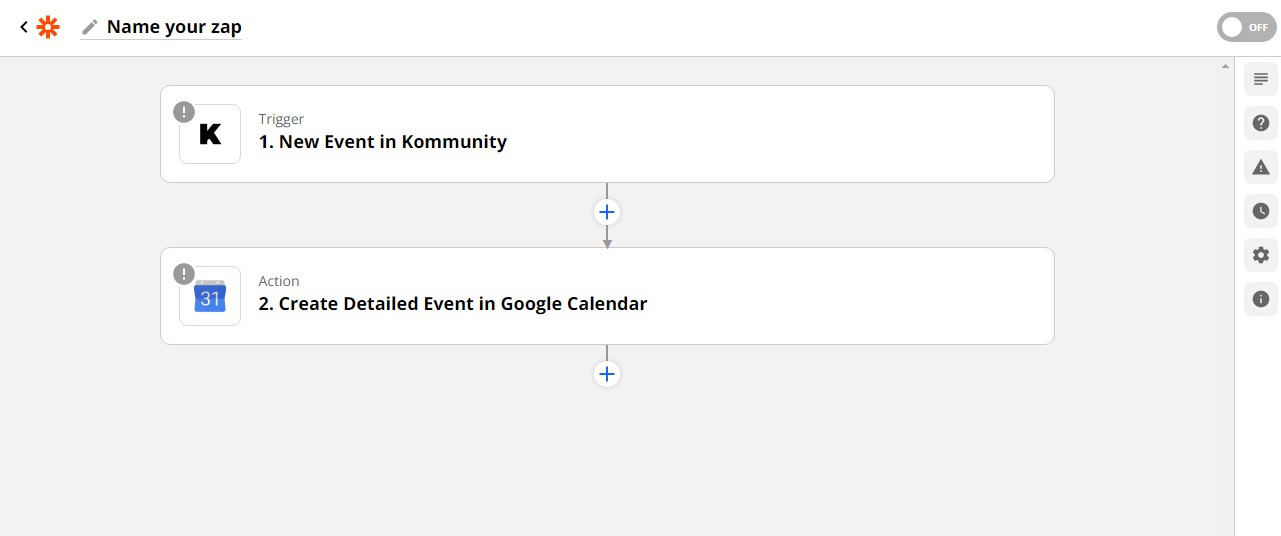
After giving the integration a name, you should click on the first option "1. New Event in Community". After clicking here, you will see the blue "Sign in to Kommunity" button with the "Choose account" option. You have to click the blue button and log in to your Kommunity account. However, you must have a Kommunity Pro account to be able to do this authorization.
After logging into your Kommunity account via Zapier and completing the necessary authorization, you will see the blue "Continue" button as seen in the image below. If you are sure that you have connected the correct account, you should click on this button.
Step 3: Creating an Event in Kommunity
When an event is added, you must be the event organizer to be able to automatically export its details to Google Calendar. For this, you must first have/join a community in Kommunity and be an organizer there.
When you are in the status of organizer in a community in Kommunity, you must click on the "Choose value..." in the "Set up trigger" option, as you can see in the image below. Zapier will automatically list the communities that you are the organizer of.
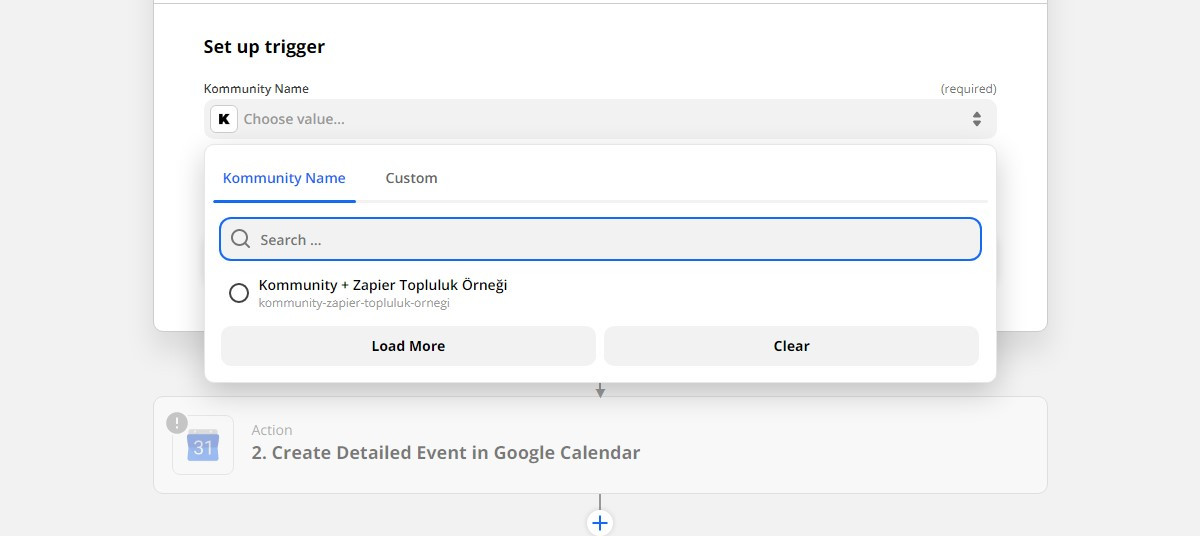
After making the relevant community selection, the blue "Continue" button will become active. If you are sure that everything is ok, you should click on this button and continue.

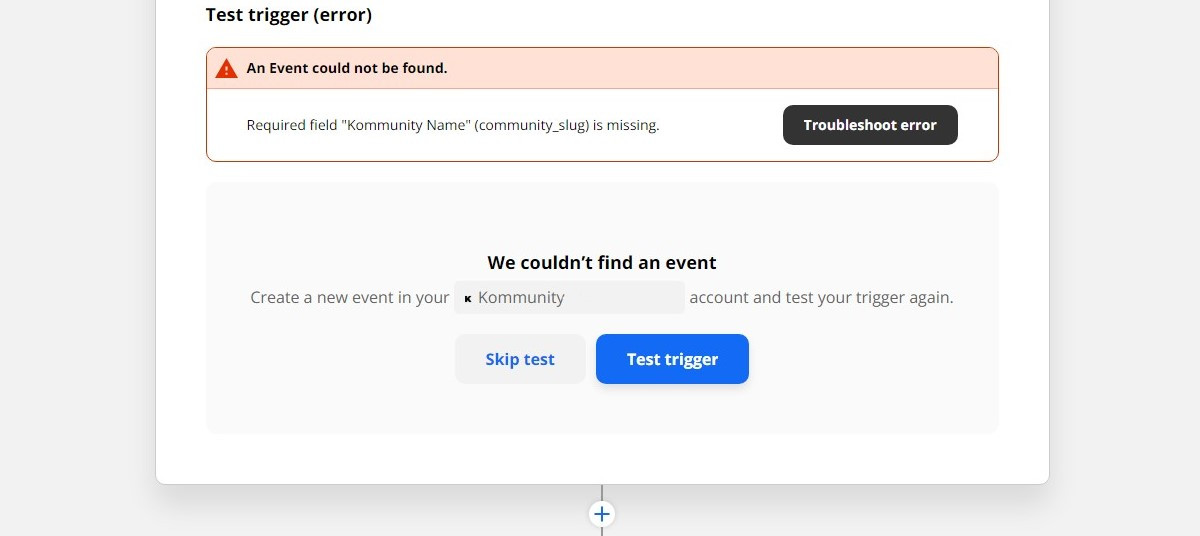
After clicking continue, you will see a "Test trigger" option. Here, Zapier will perform a test on the connected account and the connected community in order to perform the necessary checks. To perform the test, you must click the blue "Test trigger" button.

If there is no event in the community you are the organizer of, you will encounter an error called "An event could not be found". If you want the test to run correctly, you must create an event in your community in Kommunity. For this, you can use the content named "How to create an event?".
If there is an event in the community you are the organizer of, then Zapier will easily perform the necessary test and provide you with the following details. If your community and/or the event is not public, you will not be able to take advantage of the integration. To continue, you must click on the blue "Continue" button.

If you want to pass this step without creating any activity, it will be enough to press the "Skip test" button. Zapier will show you how things would normally be, by providing you with a sample activity.
Step 4: Determine Google Calendar Details
The final step in the integration of Kommunity and Zapier is to determine the Google Calendar details. Since we initially selected this integration, Google Calendar will be automatically selected in the "Choose app & event" section. The point we need to focus on here is the "Action Event" part.

- Quick Add Event - Create an event from a piece of text. Google parses the text for date, time, and description info.
- Create Detailed Event - Create an event by defining each field.
- Update Event - Updates and event. Only filled fields are updated.
- Add Attendee's to Event - Invites one or more person to an existing event.
- Delete Event - Deletes and event.
- Create Calendar - Creates a new calendar.
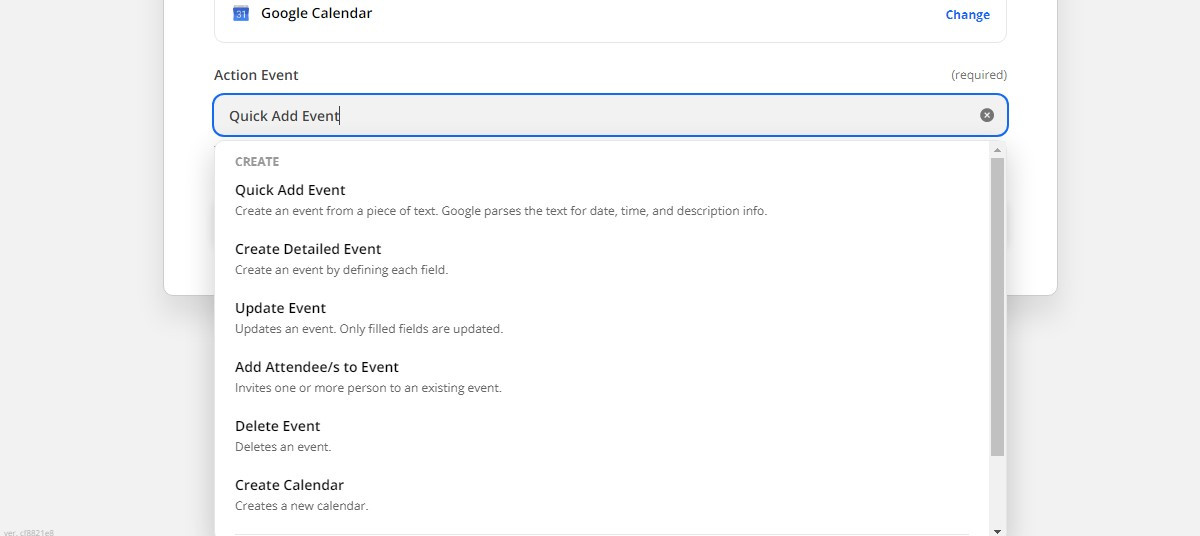
You can continue the integration by selecting any of the relevant options. As an example, we will choose the "Create Detailed Event" option, which is used to convey all the event details. After selecting this option, you should click on the blue "Continue" button.
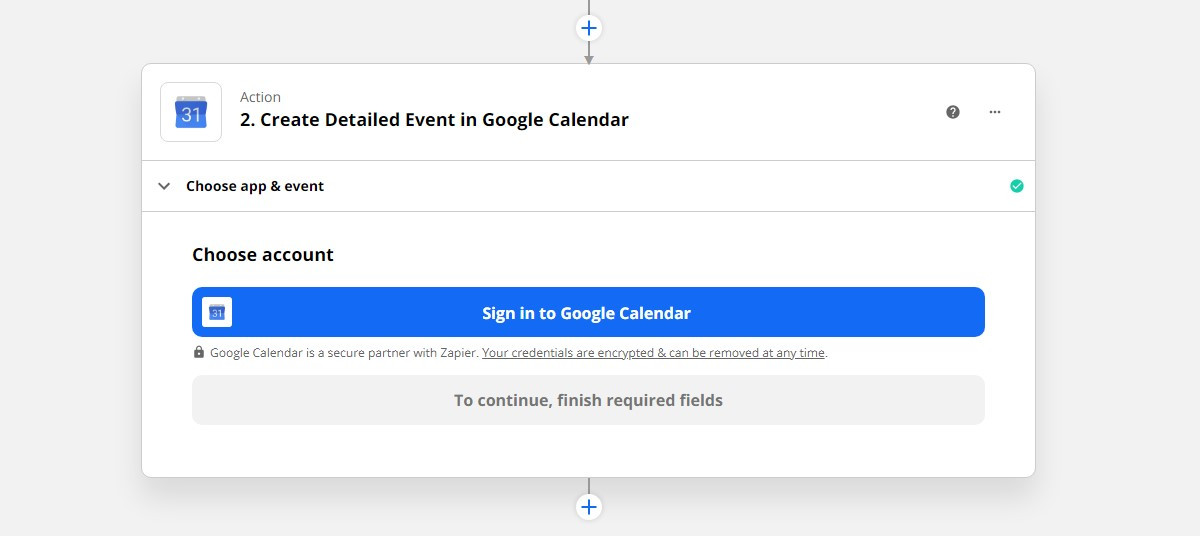
At this stage, you will be asked to log into your Google Calendar account. You can log in to your Google Calendar account by clicking the blue "Sign in to Google Calendar" button. When logging in, Google will ask you for authorization to connect Zapier with Google Calendar.
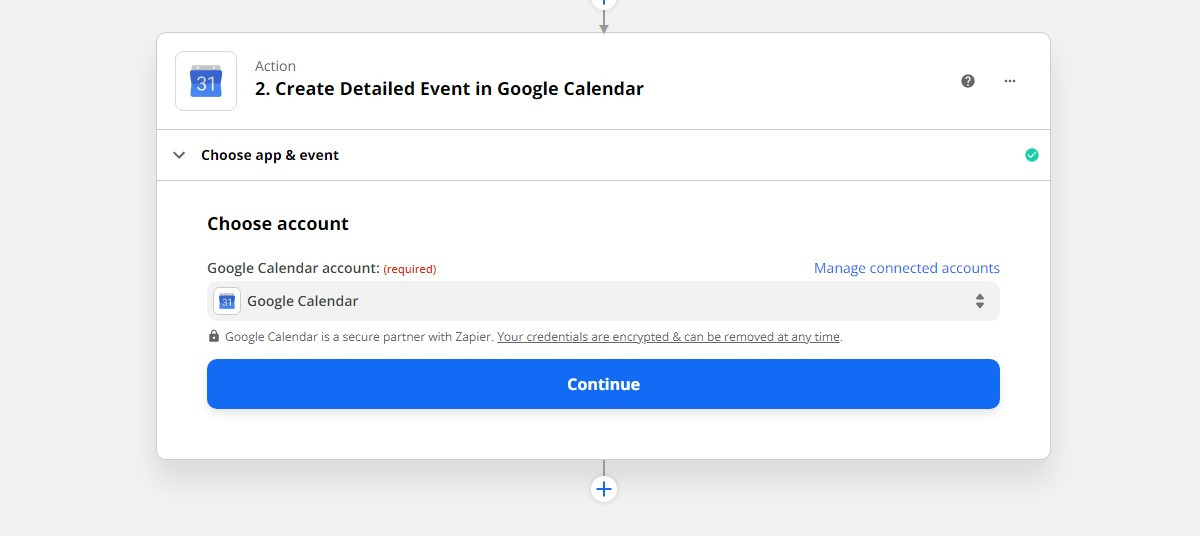
After making the necessary authorization, you should check whether the information is correct and then click the blue "Continue" button. After making the necessary checks, Zapier will direct you to a detailed form to determine the action. Here, it will be enough to fill in the required fields. However, you can include additional details if you wish.
- Calendar - It will be enough to select a calendar in your Google Calendar account you are connecting to.
- Start Date & Time - You must enter the start date of the event. You can insert the option from Kommunity.
- End Date & Time - You must enter the expiration date of the event. You can insert the option from Kommunity.
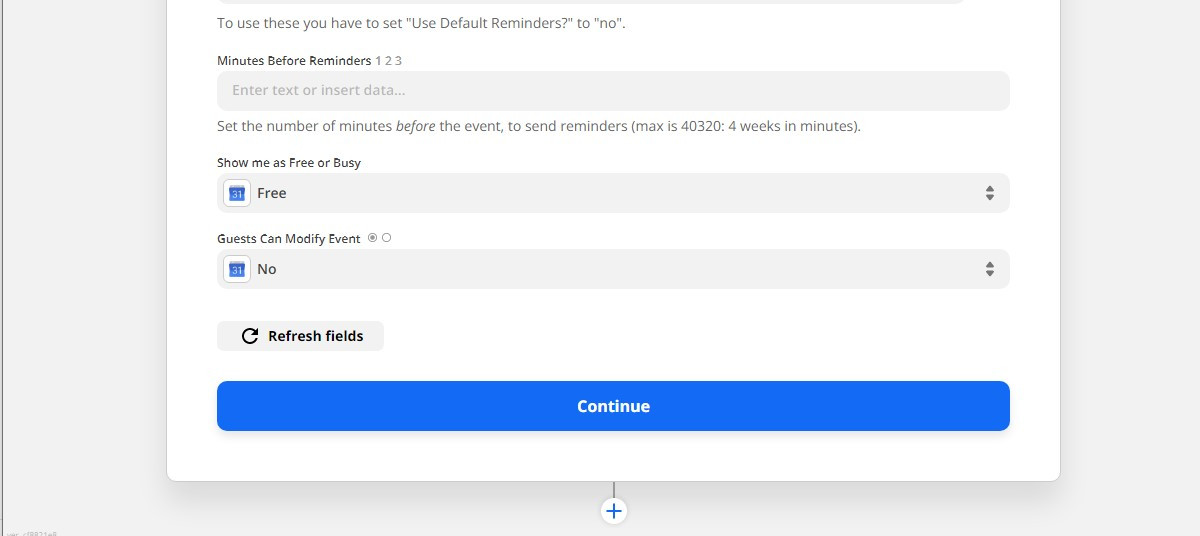
If you see fit, you can enter other additional information such as the event summary, event description, event location, reminders, and attendance status. After you have entered all the information you need, you must click on the blue "Continue" button.
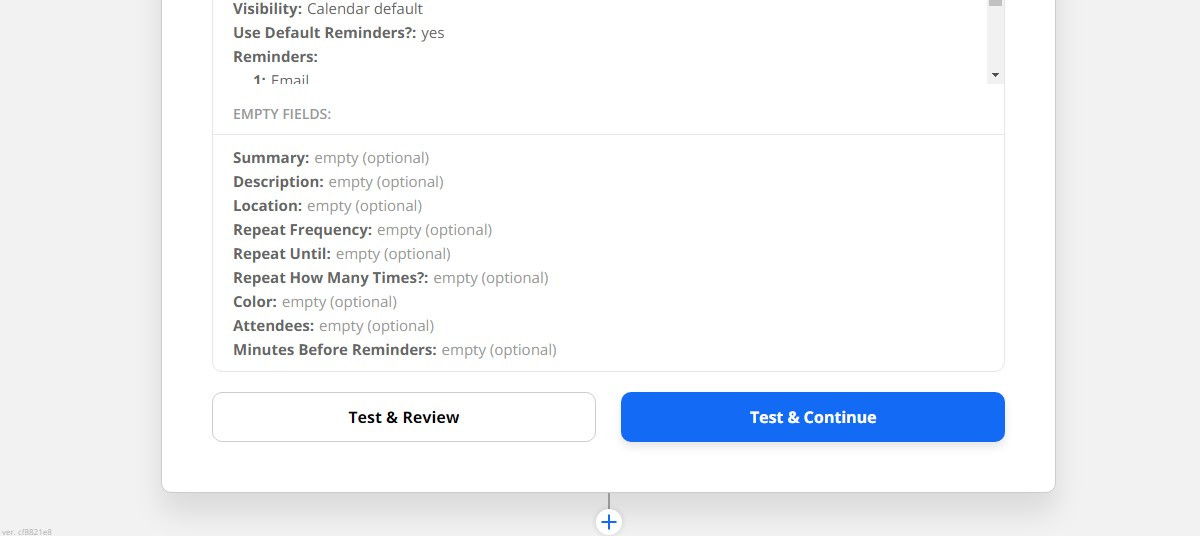
You will now encounter a testing phase. To perform the test, you must review all the details and then click the "Test & Review" button. If you are sure that everything is arranged correctly, you can click the blue "Test & Continue" button.
At the last stage, you will see the blue "Turn on Zap" button. You are now about to complete the Zapier and Kommunity integration. After making the final checks, you can complete the integration by clicking the relevant button.